
Can you imagine being at the mercy of a persistent dripping sound in your house? It’s incessant echoing through your Arvada home is enough to rob anyone of their sanity. But what if I told you, You’re not helpless! This unrelenting nuisance, often caused by a leaky bathtub faucet, can be tamed, and you won’t even need to call in a professional. Dive into our step-by-step guide to fixing that pesky leaky bathtub faucet, and reclaim peace in your home once and for all. Say goodbye to unnecessary plumber fees and hello to self-sufficiency.
Our Step-by-Step Guide to Fix Leaky Bathtub Faucet will provide you with detailed instructions on how to repair a dripping bathtub faucet. This guide covers everything from identifying the source of the leak to dismantling the faucet, replacing faulty parts, and reassembling the fixture. Following these steps will help you restore your faucet’s function and save you money on water bills.
Read About: How to Unclog a Garage Floor Drain?
Locating and Fixing the Valve Leak
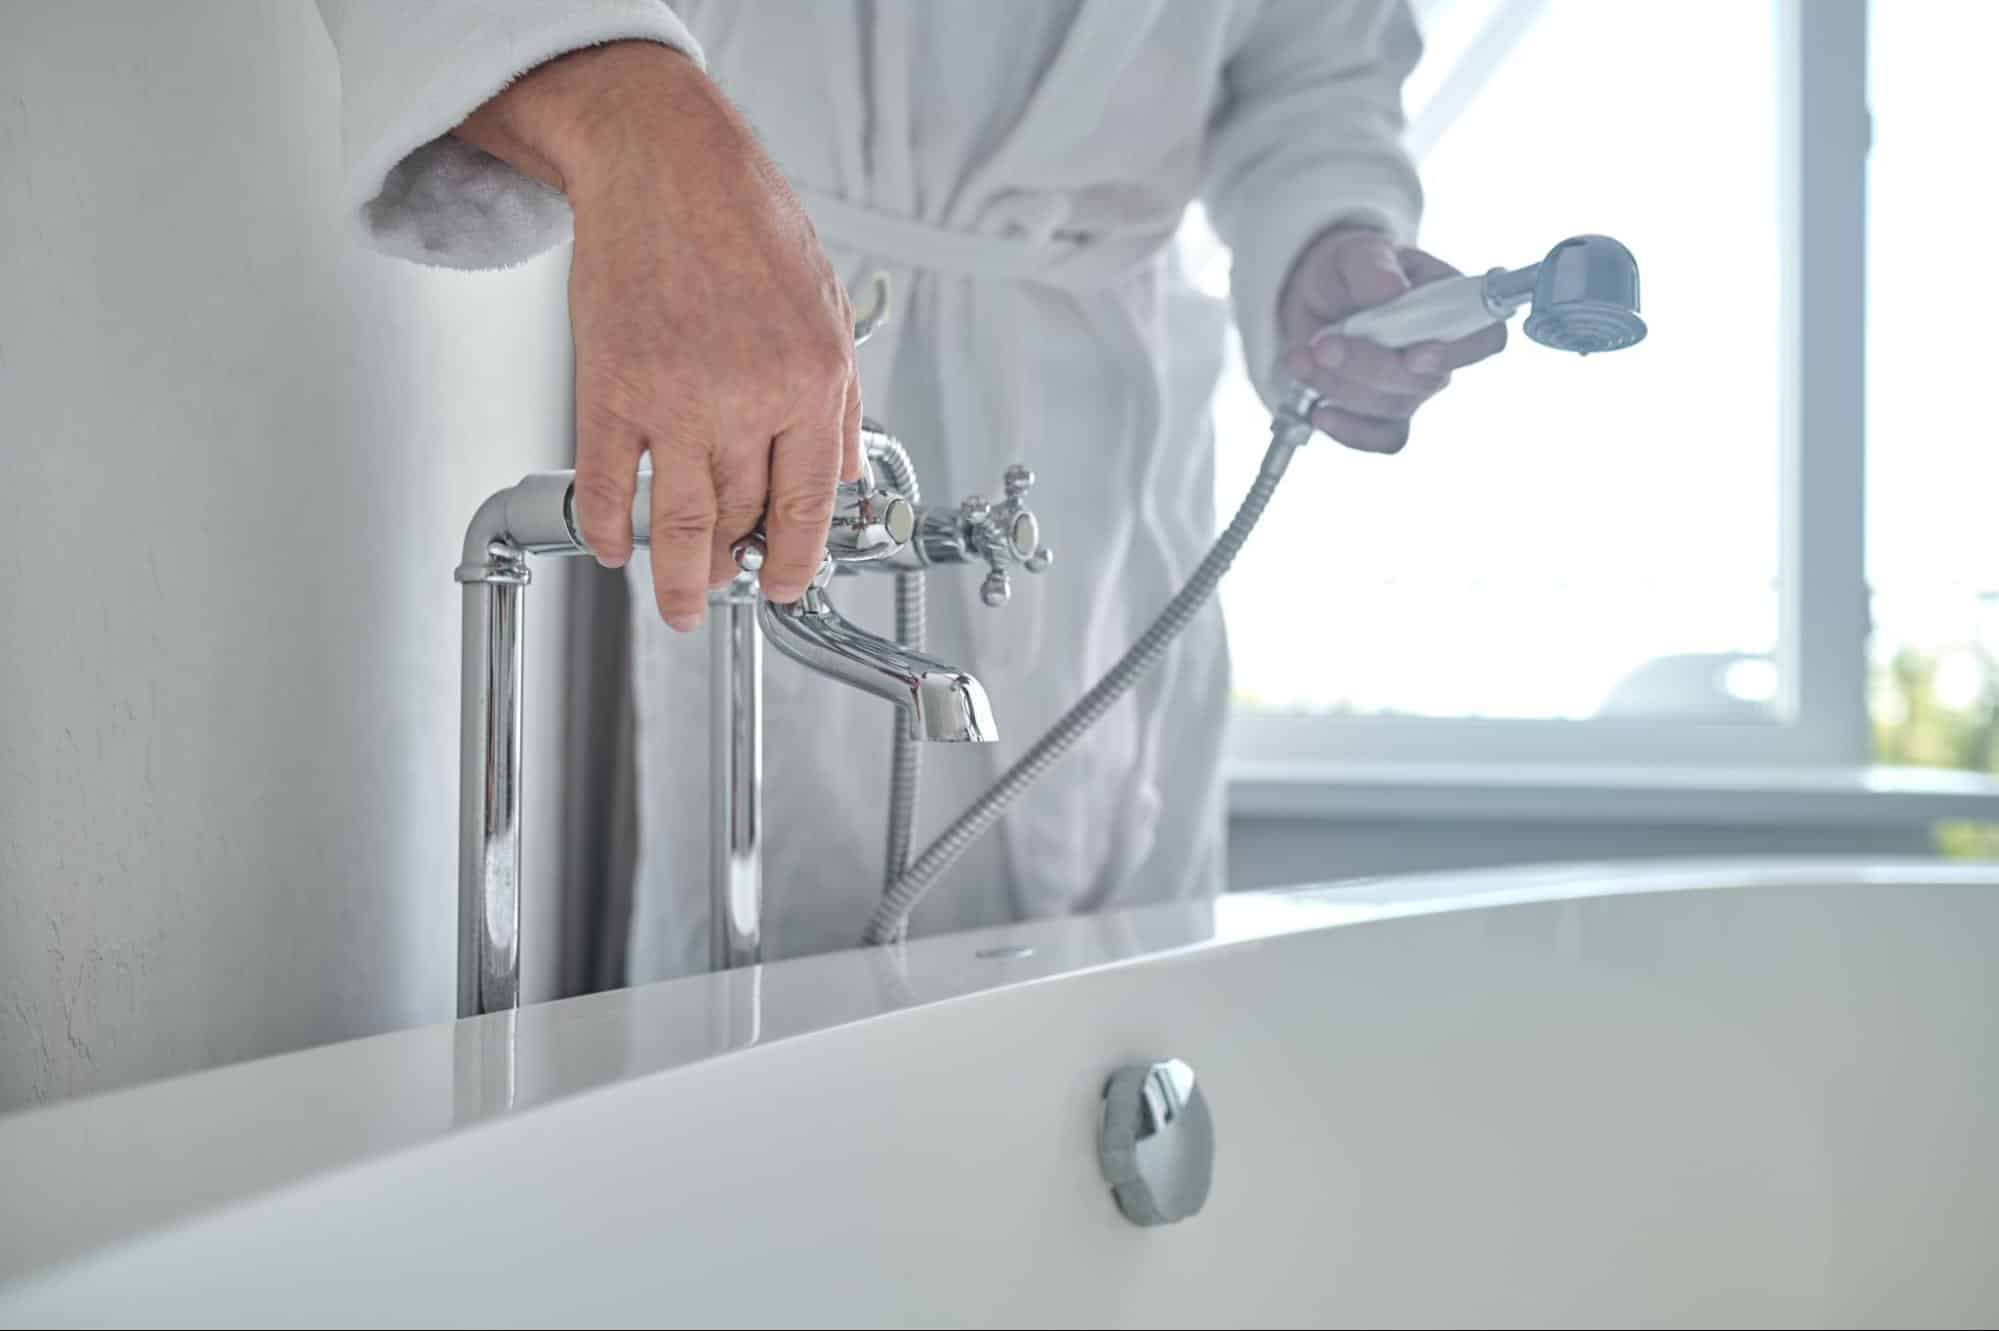
A leaky bathtub can be a real annoyance, especially if it keeps you awake at night. Not only is the sound of dripping water irritating, but the constant flow of wasted water can quickly add up to your water bill. Fortunately, fixing a leaky bathtub faucet is a relatively simple process that requires minimal plumbing knowledge and can be done by most homeowners. The key to success is knowing where the leak is coming from.
One common source of a leaking bathtub faucet is a faulty valve. Over time, the valve seat can become worn or corroded, causing water to seep through and create leaks. To locate the valve leak, turn off the water supply to your bathroom and then remove the lid from your tub’s handle assembly. This will expose the valve seat and allow you to inspect it for signs of wear and tear. Check for cracks, chips or erosion around the edges of the valve seat.
If you notice any damage or deterioration, chances are that this is what’s causing your faucet to leak. However, before replacing or repairing anything, inspect the washers inside the handle assembly as well. Sometimes a damaged washer can mimic a valve leak by allowing water to flow through the seals during operation. In this situation, replacing these washers may fix your problem without having to replace or repair your entire valve system.
Keep in mind that some valve systems are more complex than others. If you have an older home with outdated plumbing fixtures that have not been updated in years, you may discover more than one issue in your bathtub’s valve system that needs attention. It may be challenging to diagnose all these issues yourself without calling in an expert plumber.
- How can I fix a leaky bathtub faucet step by step?
- Unfortunately, there aren’t many scientific statistics about fixing leaky bathtub faucets. However, here are some related statistics:
- The Environmental Protection Agency (EPA) reports that household leaks can waste nearly 1 trillion gallons of water annually nationwide, and a leaky faucet dripping at the rate of one drip per second can waste more than 3,000 gallons per year.
- According to HomeGuide, on average, hiring a plumber to fix a simple faucet leak can cost somewhere between $150 to $350.
- A study by Milwaukee’s Water Works suggests that fixing easily corrected household water leaks like from worn toilet flappers, dripping faucets, or other leaking valves can save homeowners around 10% on their water bills.
- Fixing a leaky bathtub faucet is important to save you money on water bills and prevent annoying dripping sounds. Homeowners can easily diagnose the issue by inspecting the valve seat and washers inside the handle assembly. However, if the plumbing fixtures are outdated or more complex, it may be best to call in an expert plumber for assistance. Taking action to fix the problem will help ensure your bathtub is functioning properly and efficiently.
Adjusting the Valve Stoppers
If your bathtub’s valve leak is caused by a faulty valve, then adjusting its stopper may be all you need to do to fix it. Over time, these stoppers can become loose or worn down, which causes water to flow through the valve system even when the faucet is turned off. This means that even if you’ve replaced your washers and seals, your bathtub will still continue to leak as long as the stopper remains unadjusted.
To adjust your valve stopper effectively, begin by loosening the locknut located around the stem of your bathtub’s handle assembly. Then turn the stem counterclockwise until it comes out of the handle. Remove any screws or retaining clips holding the seat tubing in place and gently pull it up and out of the faucet body. You should now have access to the stopper at this point.
Think of adjusting a valve stopper like adjusting a clothespin on a washing line. If one side snaps shut too quickly or not at all, chances are that you need to move it slightly until everything evens out.
Keep in mind that not all bathtub faucets are created equal. Some models use ball valves instead of traditional stems for water control. In others, adjustment screws might be situated differently or require a specialized tool to reach them. If you’re unsure about what type of valve system you’re dealing with, refer to your owner’s manual if available or call a professional plumber.
Now that we’ve covered locating and fixing leaks caused by faulty valves and adjusting your bathtub’s valve stoppers let’s move onto detaching and replacing a leaking faucet handle.
Read About: Fix a Running Toilet & Common Flush Problems & their Fixes
Detaching and Replacing the Faucet Handle
Detaching and replacing a faucet handle can be a tricky task, but with the right tools and techniques in place, it can be accomplished without too much trouble. Before starting the process, it is essential to turn off the water supply to avoid any potential accidents. Once that is done, use a screwdriver to loosen the screws that are located at the center of the faucet handle. The handle should then be tugged gently to detach it from the stem assembly.
It is not uncommon for handles to become stuck or difficult to remove due to corrosion build-up over time. If this is the case, it may help to heat up the handle using a hairdryer before attempting to remove it. This will cause expansion and contraction in metal, which can make it easier to pull the handle off.
Once you have removed the handle, inspect it closely for signs of wear and tear. Old or worn faucet handles can cause leaks and need replacing. If your handle is still in good condition, then move on to examining the stem assembly.
In some cases, you may need a special valve puller tool to remove the stem assembly from the faucet body after removing the retaining nut. However, if you do not have this tool, you may try gently wiggling or twisting the stem until you can carefully pull it out by hand.
Like with any other type of device repair project, having patience and taking care during each step of the process is key. A hasty approach could lead to accidental damage and more problems than solutions.
Techniques for Stubborn Handle Removal
Stubborn handles can be a challenge to remove, but with the right techniques, you can get rid of them without damaging your faucet. One such technique is to apply a little heat to the handle using a heat gun or hairdryer. This can cause metal expansion that may loosen the handle enough for it to be removed.
Another option is to use a special handle puller tool, which can be found at any local hardware store. A handle puller will grip onto the faucet handle and pull it off with ease, making the removal process quick and straightforward.
If neither of these methods work, try applying penetrating oil around the base of the handle and waiting for several hours before attempting to remove it again. The oil will work its way into any crevices and loosen any rusted or corroded components that may be causing the handle to stick.
It’s always helpful to have an extra set of hands when working on plumbing projects, so don’t hesitate to enlist a family member or friend if you’re having trouble with stubborn handles.
In some cases, you may need to replace the entire faucet if the faucet handle cannot be removed. However, this is typically only necessary if severe corrosion or wear and tear has caused damage that is too extensive to repair through normal means.
Some homeowners may wonder if they can simply apply brute force to remove their stubborn handles. However, this approach can lead to more problems than solutions – parts can break under too much strain or you could damage your fixture beyond repair.
Remembering that patience is key and trying out different methods in a calm way is often going to be most effective when dealing with tricky plumbing repairs.
With these techniques in mind, tackling stubborn handles should no longer seem like an insurmountable task! The next step in fixing your leaky bathtub faucet will take us through addressing the valve seat nut and replacing any worn-out parts.
Addressing the Valve Seat Nut
One of the parts that is often responsible for a leaky bathtub faucet is the valve seat nut. The valve seat nut connects the spout to the plumbing system and if it becomes worn out, it can cause water to leak through.
To address the valve seat nut, you will need a specific set of tools, which includes an adjustable wrench, pliers, a screwdriver, and possibly a specialized seat wrench. Begin by turning off the main water supply to your home and opening up the faucet handles to release any leftover water in the pipes.
Next, you will need to remove the cap on top of the faucet handle using either a flathead screwdriver or pliers. Once removed, unscrew the handle from the stem and carefully pull it off. Expose any screws around the base by lifting up any rubber or plastic gaskets.
Now it’s time to access the valve seat nut. You may find that it is difficult to reach due to corrosion or tight spaces. If this is the case, try using an extended socket wrench, otherwise use an adjustable wrench. Grasp onto the valve seat nut and rotate it counterclockwise until it detaches.
It’s essential that you don’t damage any surrounding areas while handling this component with caution since fixing damages caused by over-tenting could be much more expensive than repairing a leaky faucet. To avoid scratching or cracking fixtures when removing the valve seat nut, be sure not to overtighten while reinstalling it.
Once replaced, check that there are no visible dents or warping as this can prevent other new components from sealing correctly. A high concentration of minerals can accumulate over time between any materials in contact with water; scrape away grime build-up and lime deposits that have lodged under any washers.
With these crucial steps addressed, we can now move on to discussing important tools that you’ll need to complete the repair.
Required Tools
Before beginning any plumbing repair, it is essential to have the right tools on hand. Fixing a leaky bathtub faucet might seem like an easy task, but without proper equipment and expert know-how, the work can become difficult or even hazardous. Here are some tools needed for fixing a leaky bathtub faucet:
1. Basin wrench
This wrench is specifically designed for loosening or tightening nuts and bolts of sink fixtures that are not easily reachable with other tools.
2. Adjustable wrench
These versatile tools can adjust to various bolt sizes by turning a knob.
3. Channel locks
Channel-lock pliers provide additional leverage and help with grip when working in hard-to-reach areas such as under sinks or behind walls.
4. Screwdrivers
A flathead screwdriver could be useful for prying off handles of faucets while a Phillips-head screwdriver will come in handy when removing screws from mounting brackets.
5. Lubricant
Plumber’s grease helps prevent corrosion and sticking of moving parts, ensuring they remain intact over time.
6. Seat wrench
Sometimes valve seats corrode due to mineral buildup, requiring replacement which necessitates specialized seat wrenches.
Think of these tools as your trusted helper when performing a task: Selecting the right tool for the job is integral to accomplishing everything effortlessly with no frustration or complications.
The use of incorrect tools can result in further damage to piping systems, leading to expensive replacement costs in the long run. If you’re unsure about how to fix a leaky bathtub faucet or lack the appropriate tools on hand, consider consulting an experienced plumber before setting out to undertake it yourself.
Applying Sealant and Final Adjustments
Once you have replaced the washer, stem assembly, and valve seat nut, it’s time to ensure that your bathtub faucet will no longer leak by applying a sealant and making final adjustments.
First, apply the plumber’s tape to the threads of the stem assembly. This tape will help prevent any future leaks from developing. Next, carefully reinsert the stem assembly back into the valve body. Make sure to turn it clockwise until it is tightly secured in place.
Now it’s time to reattach the handle. If you had to remove any corroded parts during the repair process, now might be a good time to give them a quick clean before reinstalling. Use your screwdriver to re-attach the screws in the center of the handle. Give them a final tighten so that the handle is secure.
Finally, turn on the water supply and test out your faucet. Take note of any drips or leaks that may still be present. If there are no signs of leaking, congratulations! You have successfully fixed your leaky bathtub faucet.
On the other hand, if there are still drips or leaks present after reassembly, there may be another underlying issue with your faucet that needs addressing. It could be an issue with your plumbing system or water pressure. In this case, it would be best to call in a professional plumber to diagnose and fix any other issues that may be present.
Conclusion
Fixing a leaky bathtub faucet can be compared to changing a tire: while changing a flat tire may seem daunting at first, with some guidance and practice it becomes second nature. Similarly, repairing a leaky faucet may seem like a daunting task but with this step-by-step guide, you’ll become more comfortable handling small plumbing repairs around your home.
Fixing a leaky bathtub faucet not only saves you money on your water bills but it also helps conserve water. By following this step-by-step guide, you will be able to fix your own bathtub faucet quickly and efficiently, without having to call in a professional plumber. Remember to take your time during the repair process and if any issues arise, don’t hesitate to call in a plumbing expert for assistance.